install Jenkins on Windows is an essential tool for automating Continuous Integration (CI) and Continuous Delivery (CD) workflows. In this guide, we’ll show you exactly how to install Jenkins on Windows, so you can streamline your development processes with ease.
Table of Contents
- What is Jenkins?
- System Requirements for Installing Jenkins
- Steps to Install Jenkins on Windows
- Downloading Jenkins
- Installing Jenkins Using the MSI Installer
- Post-Installation Setup
- Installing Jenkins via Command Prompt
- Installing Jenkins in Docker
- FAQs on Installing Jenkins
- Conclusion
What is Jenkins?
Jenkins is a Java-based, open-source automation tool designed for Continuous Integration (CI) and Continuous Delivery (CD). Its extensive library of plugins supports developers in automating the entire software development lifecycle, from code building and testing to deployment.
System Requirements for Installing Jenkins
Ensure your system meets these requirements to successfully install Jenkins on Windows:
| Requirement | Details |
|---|---|
| Operating System | Windows (64-bit recommended) |
| Java Development Kit | JDK 8 or later |
| Memory | Minimum 2 GB RAM |
| Disk Space | At least 500 MB |
Steps to Install Jenkins on Windows
1. Download Jenkins for Windows
- Go to the official Jenkins download page.
- Select Windows as the platform.
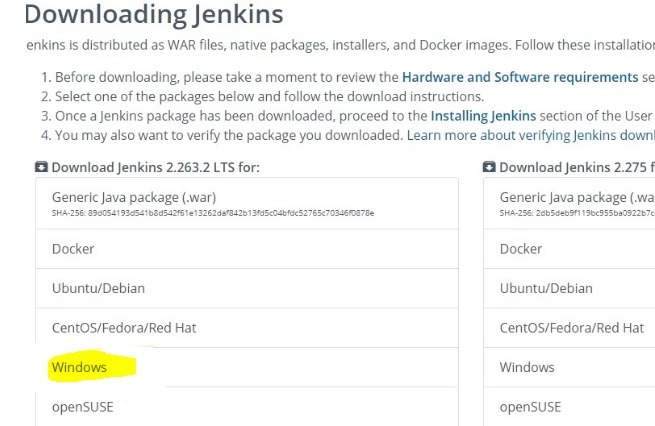

- Download either the Long-Term Support (LTS) or Weekly Release version.
2. Install Jenkins Using the MSI Installer
- Double-click the MSI file to start the installation.
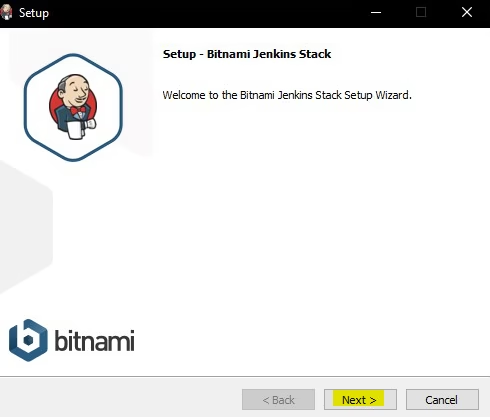

- Follow the on-screen instructions, clicking Next through each step.
- Enter your name and email details when prompted.
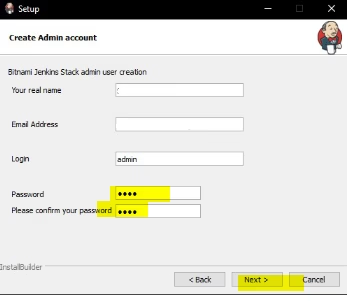

- Once complete, click Allow Access and then Finish to finalize the installation.
3. Launch Jenkins
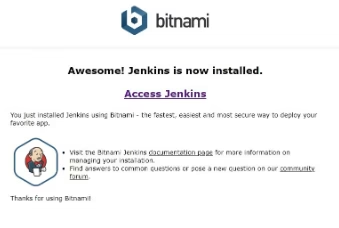

- Open your browser and navigate to
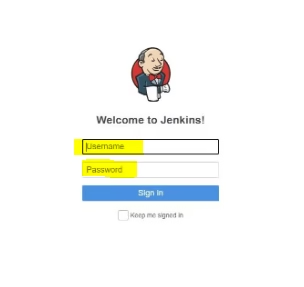
http://localhost:8080. - Log in using the admin username and password created during the installation process.
Post-Installation Setup
Once you’ve completed the basic installation, follow these steps to configure Jenkins:
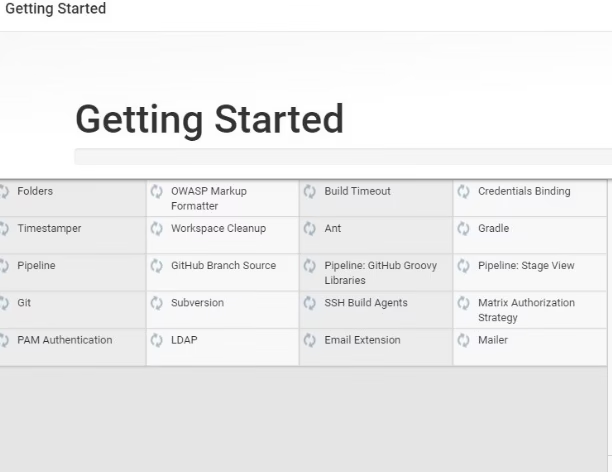
- Install Recommended Plugins: Jenkins will prompt you to install suggested plugins.

- Set Up Admin User: Create a secure admin account.
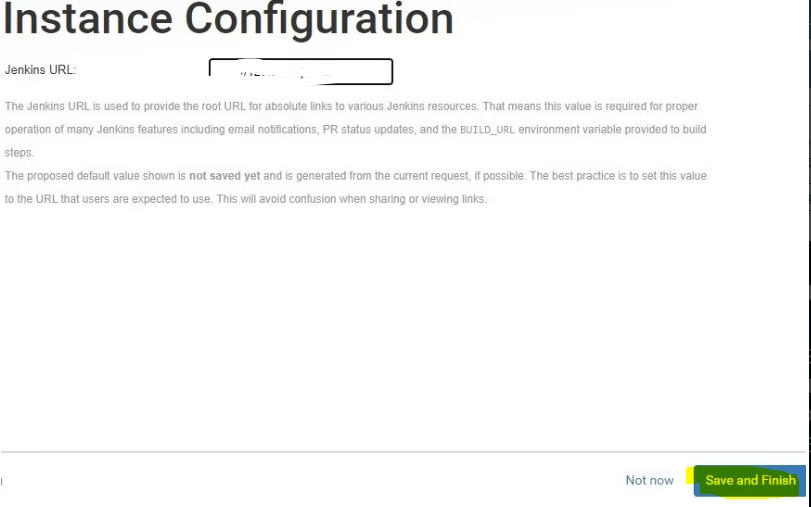
- Save and Access Dashboard: Save the configuration and refresh the page to access Jenkins’ dashboard.

Installing Jenkins via Command Prompt
For advanced setups, you can install Jenkins using the command prompt and the WAR file.
| Steps | Command |
|---|---|
| 1. Download the WAR file | wget https://get.jenkins.io/war-stable/latest/jenkins.war |
| 2. Move the WAR file | mkdir jenkins and mv jenkins.war jenkins |
| 3. Run Jenkins | java -jar jenkins.war |
Access Jenkins through http://localhost:8080 to finalize the setup.
Installing Jenkins in Docker
Running Jenkins in Docker is an efficient, portable option:
- Pull the Jenkins image:
docker pull jenkins/jenkins:lts-jdk11 - Run the Jenkins container:
docker run -p 8080:8080 -v jenkins_home:/var/jenkins_home jenkins/jenkins:lts-jdk11 - Access Jenkins in your browser at
http://localhost:8080.
FAQs on Installing Jenkins
1. How Do I Start Jenkins on Windows?
- Open the Services app on Windows.
- Locate the Jenkins service, right-click, and select Start.
2. Can I Install Jenkins Without Using MSI?
Yes, you can use the WAR file or Docker-based installation methods for a platform-independent approach.
3. What Types of Projects Can You Create in Jenkins?
Jenkins supports Freestyle Projects, Pipelines, and Multi-Configuration Projects, allowing flexibility for diverse CI/CD workflows.
Conclusion
Installing Jenkins on Windows is easier than ever with this guide. Whether you prefer the MSI installer, command-line method, or Docker, Jenkins offers unparalleled support for your CI/CD processes.
Start using Jenkins today and watch your development process become faster, smoother, and more efficient!
This version uses the focus keyword install Jenkins on Windows prominently at key locations, includes a positive sentiment in the title, and adds structure using tables and subheadings. Let me know if you need additional tweaks!
Explore More Troubleshooting Guides:
We are consistently posting new Python troubleshooting guides to help you resolve various technical issues. If this guide was helpful, be sure to check out our other resources for more solutions. Still facing the same problem? Don’t worry! Drop a comment with your issue, and our team will assist you as soon as possible. Also, if you’ve found a unique fix, feel free to share it with the community—it might help others!
Python Crash Fix: 7 Solutions for Jupyter & Spyder Issues
10 Proven Ways to Debugging Python in PyCharm & VS Code
How to Install Python: Easy Setup Guide for Beginners
