Discover how to build the perfect snowman in just 12 easy steps! From choosing the right snow to adding creative accessories, this guide will help you craft a snowman that stands out and lasts longer.
Table of Contents
- Why Build the Perfect Snowman?
- Step-by-Step Guide to Build the Perfect Snowman
- 1. Start with the Right Snow
- 2. Roll the Base
- 3. Build the Body
- 4. Top It Off with a Head
- How to Decorate Your Snowman
- 5. Add a Carrot Nose
- 6. Create Expressive Eyes
- 7. Craft a Winning Smile
- 8. Add Arms and Accessories
- Creative Snowman Ideas
Why Build the Perfect Snowman?
Winter is the perfect time to unleash your creativity, and building the perfect snowman is one of the most joyful activities you can share with family and friends. It’s not just about piling snow—it’s about creating a unique work of art that spreads happiness and stands out in the frosty landscape.
Step-by-Step Guide to Build the Perfect Snowman
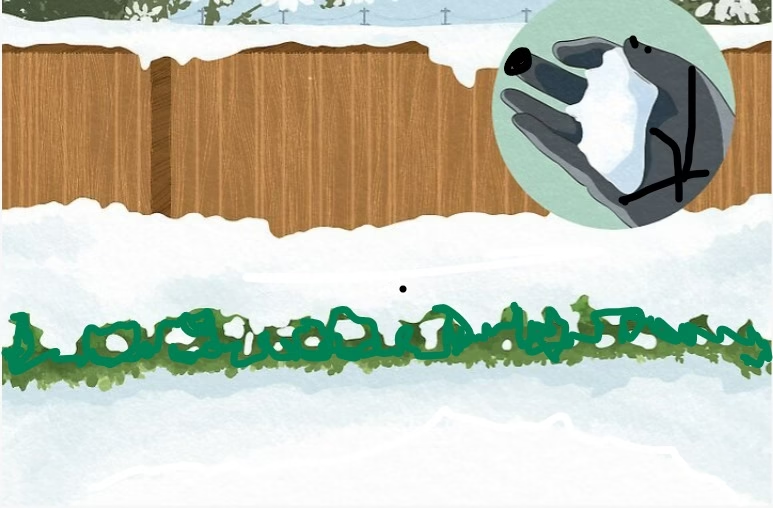
1. Start with the Right Snow
The foundation of building the perfect snowman is using the right type of snow. Wet, packable snow works best, as it sticks together and holds its shape. Simply grab some snow, press it into a ball, and see if it stays intact. If it crumbles, wait for a better snow day!
- Pro Tip: Build your snowman in a shaded area to slow down melting and extend its life.
2. Roll the Base
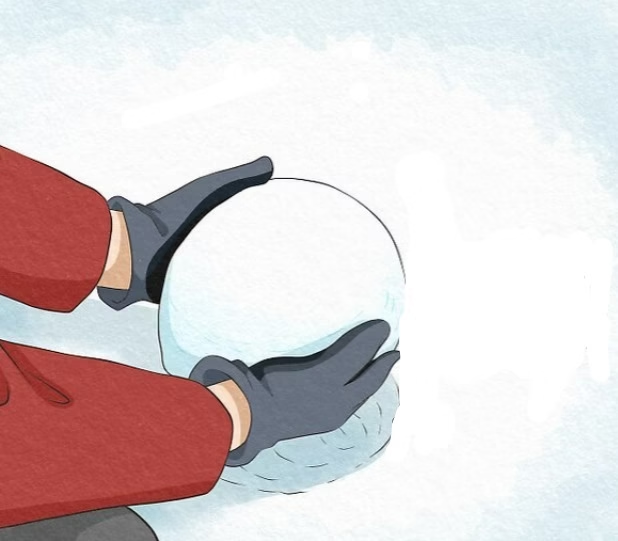
Start small and roll your snowball along the ground. Watch as it gathers snow and grows larger. Stop rolling when the base is about 3 feet (90 cm) wide. This will form a sturdy foundation for your snowman.
3. Build the Body
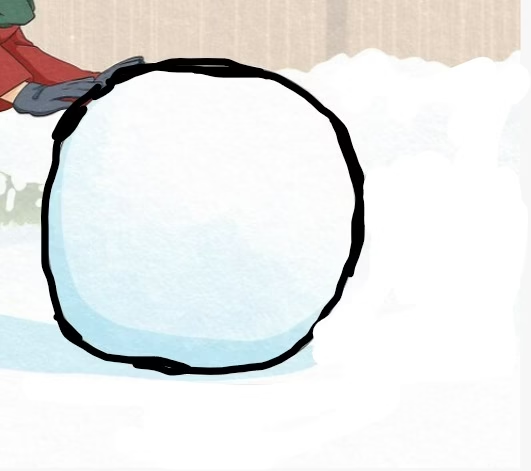
Form a second snowball slightly smaller than the base, about 2 feet (60 cm) in diameter. Roll it to your snowman and carefully stack it on top of the base. Flatten the connecting surfaces for a secure fit.
4. Top It Off with a Head
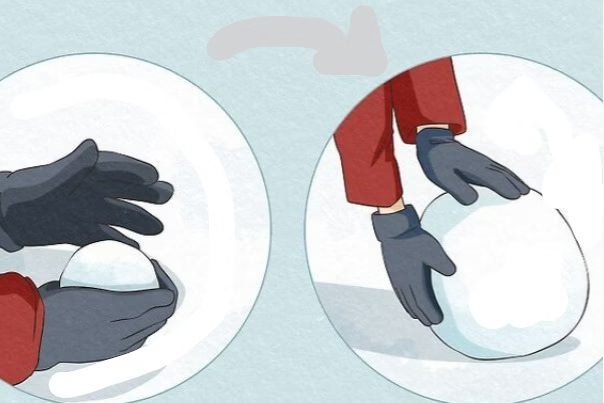
The head of your snowman should be about 1 foot (30 cm) wide. Shape this snowball by hand or roll it lightly. Once ready, carefully place it atop the body. Pack extra snow between sections to smooth and secure the entire structure.
How to Decorate Your Snowman
5. Add a Carrot Nose
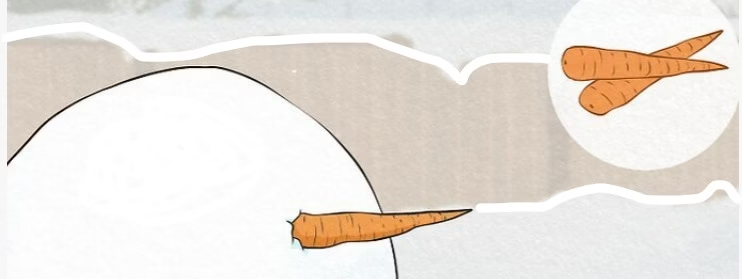
No snowman is complete without a carrot nose! Push a carrot into the center of the head, giving your snowman a timeless and cheerful look. Don’t have a carrot? A stick or button works too!
6. Create Expressive Eyes

Use buttons, pebbles, or coal for the eyes. For a splash of creativity, try colorful alternatives like marbles, bouncy balls, or even bottle caps. Place the eyes evenly above the carrot nose to complete the face.
7. Craft a Winning Smile
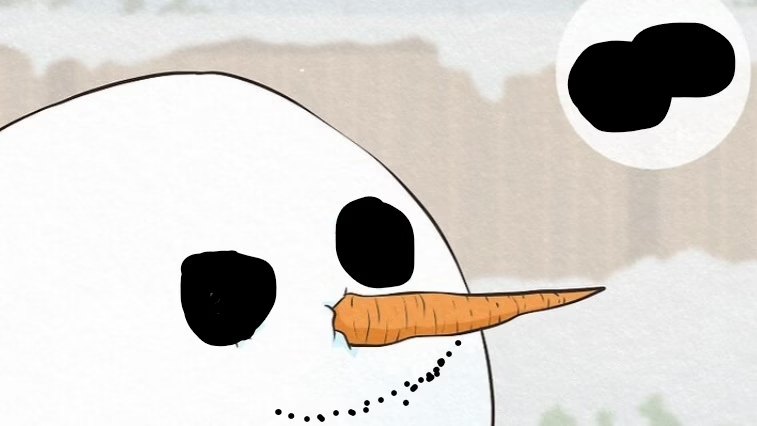
Make your snowman smile with small stones, charcoal, or beads. Arrange the pieces in a curved line beneath the nose. Feeling adventurous? Bend wire or use felt to create a unique grin.
8. Add Arms and Accessories
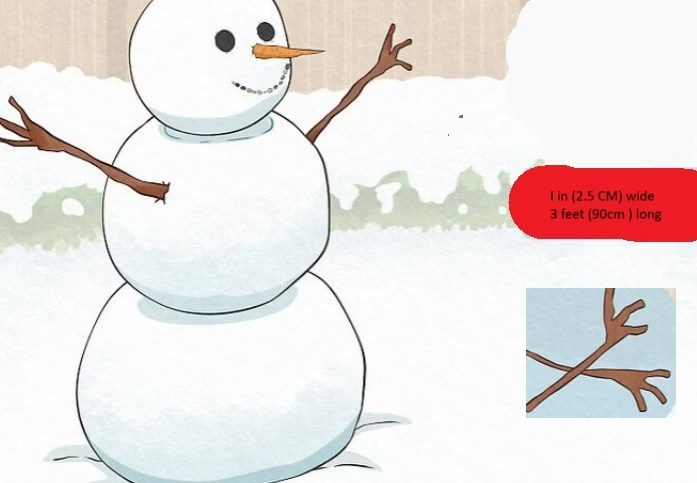
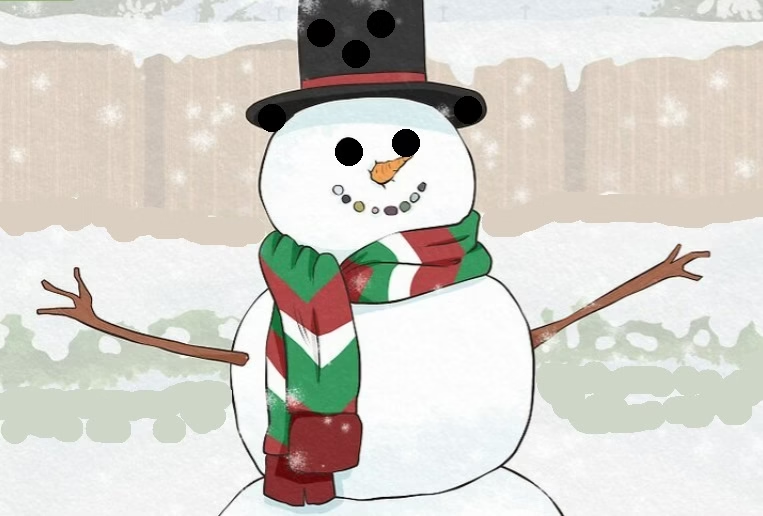
Give your snowman personality with sturdy stick arms. Push them into the sides of the body and angle them for a dynamic look. Complete the ensemble with a scarf and hat. Don’t be afraid to get creative—sunglasses, ties, or festive hats make your snowman truly one of a kind!
Creative Snowman Ideas
- Snow Families: Build multiple snowmen for a fun family scene.
- Themed Snowmen: Turn your snowman into a pirate, superhero, or chef.
- Light It Up: Add fairy lights to your snowman for nighttime charm.
Build the Perfect Snowman Today!
Winter won’t last forever, so grab your mittens and get started on building the perfect snowman. With these easy steps and creative ideas, you’ll have a snowman that not only looks amazing but spreads cheer all season long. Whether you go classic or quirky, your frosty creation is sure to be the talk of the town!