Setting up the Microsoft Authenticator app is quick, easy, and ensures your Microsoft 365 account stays secure. Follow this ultimate guide to get started!
Why Use Microsoft Authenticator?
The Microsoft Authenticator app adds an extra layer of security to your Microsoft 365 account, making it much harder for unauthorized users to gain access. Plus, the setup process is user-friendly and quick!
Step 1: Download the Microsoft Authenticator App
Head over to the App Store or Google Play Store to download and install the app on your smartphone.


Step 2: Access Your Microsoft 365 Account
Log into your Microsoft 365 account through portal.office.com.
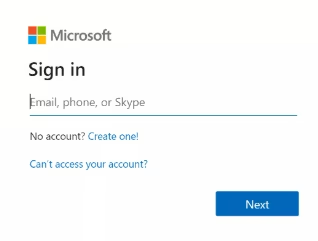

Step 3: Enable Two-Factor Authentication
Once logged in, follow the instructions to enable Additional Security Verification.
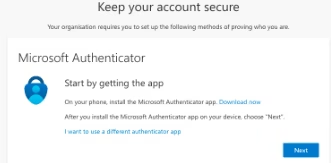
Step 4: Keep the QR Code Ready
After clicking through the prompts, a QR code will be displayed on your computer screen. Keep this page open.
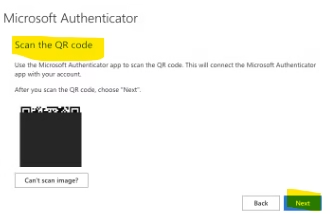

Step 5: Set Up the Authenticator App
Open the Microsoft Authenticator app and follow these steps:
- Tap the “+” icon in the top-right corner.
- Select “Work or School Account”.


Step 6: Scan or Enter the QR Code
- Use your phone’s camera to scan the QR code.
- If the QR code doesn’t scan, manually enter the code provided below the QR image.
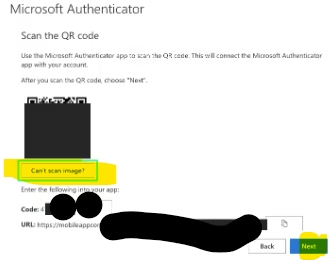

Step 7: Verify and Test the Setup
- Return to your computer and click Next.
- Enter the numbers displayed on your computer into the app.
- Approve the verification request to ensure everything is working.
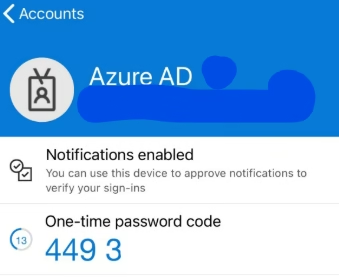

Step 8: Finalize Your Setup
Once verified, your account will appear in the app, and you’ll see a confirmation message on your screen.


How to Use Microsoft Authenticator Daily
Whenever you log in to your Microsoft 365 account, simply:
- Open the app on your phone.
- Enter the verification code displayed on the screen.
- Approve the request to gain access to your account.


